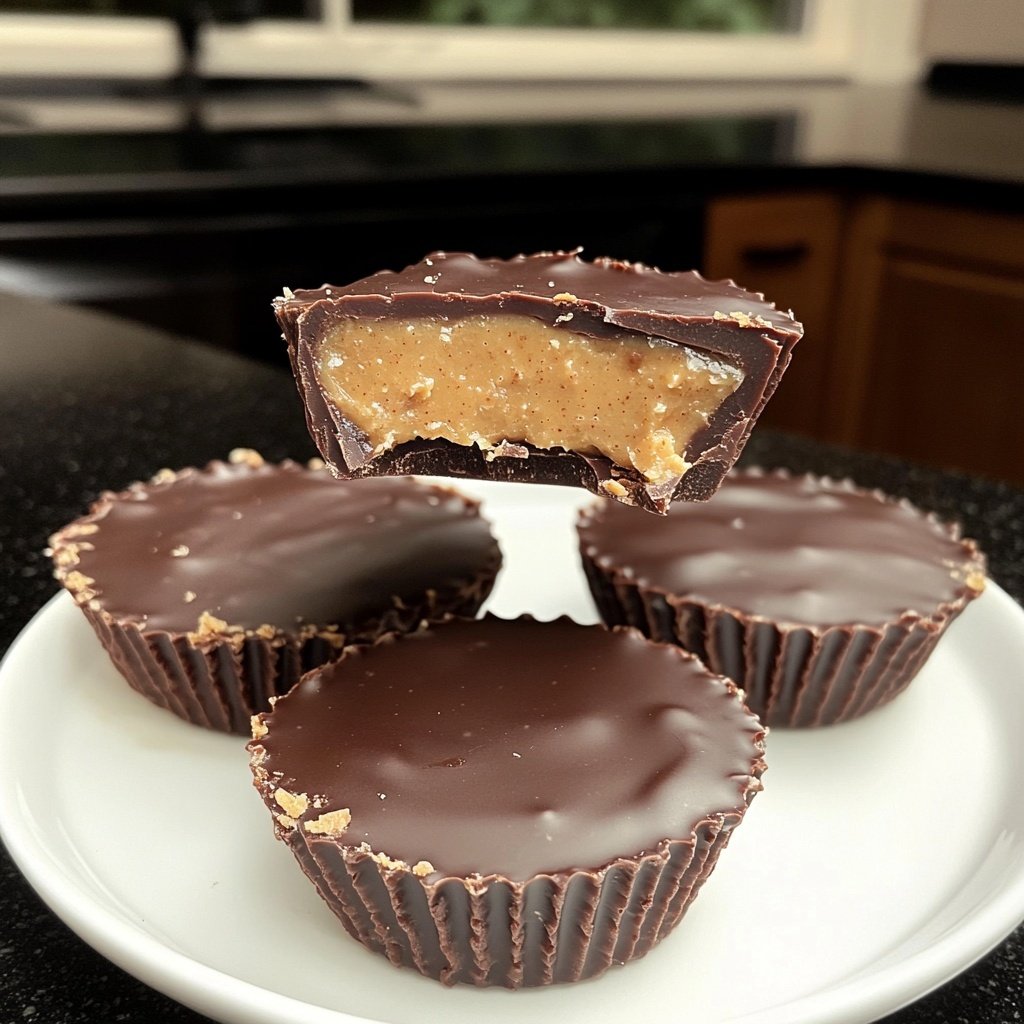
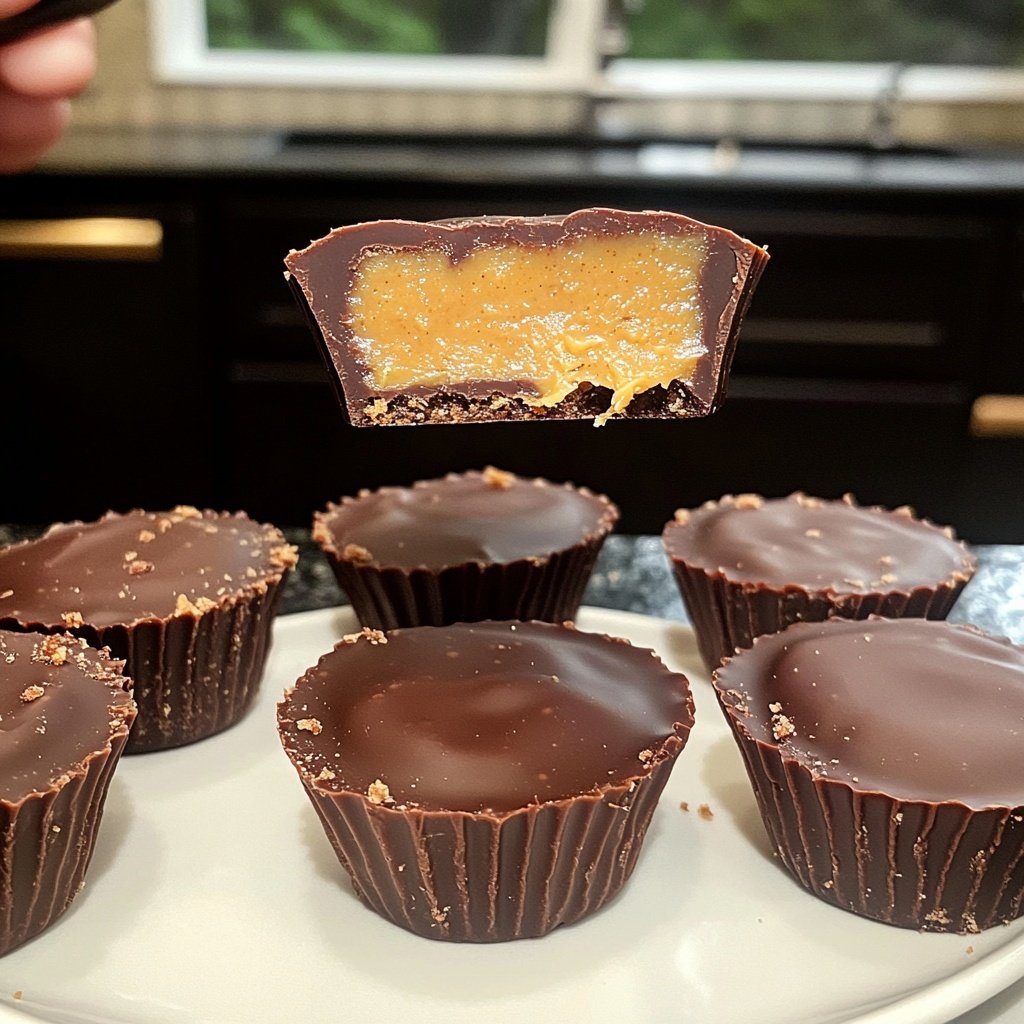
Homemade Peanut Butter Cups with Maple Filling
Highlighted under: Classic Baking Favorites
I absolutely love making Homemade Peanut Butter Cups with Maple Filling. There’s something magical about the combination of creamy peanut butter and the rich, sweet notes of maple syrup. When I first made these, I was surprised by how easy it was to recreate a classic treat. Not only do they taste amazing, but they’re also a delightful treat to share with friends and family. The best part? You can control the sweetness and use quality ingredients to make a guilt-free version of this beloved favorite.
When I embarked on the journey of making my own peanut butter cups, I was inspired by the idea of incorporating maple filling. I wanted something that amplified the natural sweetness of the peanut butter, and maple syrup did just that. After several trials, I perfected the balance between the two, creating a blended layer that melts in your mouth.
One key tip I discovered is to let the chocolate coating firm up in the fridge before adding the filling. This prevents the filling from oozing out, ensuring each bite is a perfect combination of chocolate and peanut butter with a hint of maple. It’s a technique that makes all the difference!
Why You'll Love These Peanut Butter Cups
- Rich peanut butter flavor enhanced with a touch of maple sweetness
- Creamy texture that provides a delightful melt-in-your-mouth experience
- Perfect for gifting or simply indulging in a homemade treat
Understanding Chocolate Tempering
Tempering chocolate might seem daunting, but it's key to achieving that perfect snap and glossy finish for your peanut butter cups. Start by melting the chocolate with coconut oil in a microwave, stirring every 30 seconds until it achieves a smooth consistency. Make sure not to overheat it, as burning the chocolate can lead to a grainy texture that won't set properly. The right temperature should be around 88-90°F (31-32°C) for dark chocolate.
You can also temper your chocolate using a double boiler. Simply place the chocolate and coconut oil in a heatproof bowl over a pot of simmering water, stirring gently. This indirect heat method is gentler and helps prevent scorching. Once you've melted and tempered the chocolate, allow it to cool for just a minute before pouring it into the muffin tin to maintain that desired sheen.
Achieving the Perfect Filling
The peanut butter and maple filling is the heart of this recipe, so be sure to use quality creamy peanut butter without added sugars or oils. This choice provides a rich and authentic flavor that complements the sweetness of the maple syrup perfectly. If you want a lower fat version, opt for a natural peanut butter or even almond butter, which pairs beautifully with maple as well.
Incorporating the vanilla extract adds depth and complexity to the filling. As you mix the ingredients, stir until completely smooth to eliminate lumps. This step ensures a velvety texture that melts in your mouth when you bite into the chocolate shell. Feel free to adjust the amount of maple syrup based on your desired sweetness; just keep in mind that too much can affect the consistency of the filling.
Storage and Variations
These homemade peanut butter cups can be stored in an airtight container in the refrigerator for up to two weeks, making them a fantastic make-ahead treat. If you want to keep them for longer, they can be frozen for up to three months. Just layer them with parchment paper to prevent sticking, and let them thaw for about 15 minutes before enjoying for best flavor and texture.
You can also customize these cups by adding toppings before chilling them. Consider sprinkling a pinch of sea salt on top to enhance the sweet and salty flavor contrast. Alternatively, you could mix in chopped nuts or even a drizzle of caramel before sealing them with the final layer of chocolate. Experimenting with different nut butters or flavored chocolates can lead to unique variations that keep your treats exciting!
Ingredients
Gather these simple ingredients to make your own delicious peanut butter cups:
For the Chocolate Shell
- 1 cup dark chocolate chips
- 2 teaspoons coconut oil
For the Maple Filling
- 1 cup creamy peanut butter
- 1/4 cup maple syrup
- 1/2 teaspoon vanilla extract
- 1/4 teaspoon salt
Make sure to chop the chocolate if using bars for a smoother melt.
Instructions
Follow these steps to create your homemade treats:
Melt the Chocolate
In a microwave-safe bowl, combine the dark chocolate chips and coconut oil. Microwave in 30-second intervals, stirring in between, until the mixture is smooth and fully melted.
Prepare the Cups
Line a muffin tin with paper liners and pour a small amount of melted chocolate into each cup, ensuring the base and sides are coated. Place in the freezer for about 10 minutes to set.
Mix the Filling
In a medium bowl, stir together the peanut butter, maple syrup, vanilla extract, and salt until well combined and smooth.
Assemble the Cups
Once the chocolate has set, add a spoonful of the peanut butter and maple filling into each cup. Top with additional melted chocolate to cover the filling completely.
Chill and Enjoy
Return the muffin tin to the freezer for another 10-15 minutes to allow the chocolate to harden. Once set, remove the cups from the liners and enjoy your delicious homemade peanut butter cups!
Store any leftovers in an airtight container in the refrigerator.
Pro Tips
- For an extra crunch, try adding chopped nuts or a sprinkle of sea salt on top of the chocolate before it sets.
Troubleshooting Common Issues
If your chocolate shell isn't setting properly, it may not be tempered correctly or the room might be too warm. To troubleshoot, re-chill your cups in the refrigerator for a few minutes to help solidify them, and check that your chocolate isn't scorched. If needed, remelt the chocolate and restate the tempering process.
Another common issue is a filling that spills out when you bite into the cup. This can happen if the filling is too runny or over-filled. Ensuring your peanut butter filling is well-mixed and allowing it to cool slightly before adding to the cups can help prevent this problem. Always leave a bit of space at the top when adding the filling to allow for a proper seal of chocolate.
Serving Suggestions
These peanut butter cups are perfect for serving at gatherings or as gifts. Arrange them on a decorative plate or in a gift box lined with wax paper for a homemade touch. They pair wonderfully with a cup of coffee or a glass of cold milk, enhancing the rich flavor profile with each bite.
Consider using these cups as a fun addition to dessert platters or as a topping for ice cream. You could chop them into smaller pieces to sprinkle over vanilla ice cream for an indulgent treat that’s sure to impress. They also make great party favors when bagged up and tied with a ribbon; your friends will appreciate the homemade touch!
Questions About Recipes
→ Can I use milk chocolate instead of dark chocolate?
Yes, milk chocolate will work fine, but keep in mind it may alter the flavor profile slightly.
→ How long do these peanut butter cups last?
They can last up to two weeks in the refrigerator when stored properly.
→ Can I make these vegan?
Absolutely! Use dairy-free chocolate chips and ensure your peanut butter is 100% vegan.
→ What can I use instead of maple syrup?
You can substitute with agave syrup or honey, but it will change the flavor slightly.
Homemade Peanut Butter Cups with Maple Filling
Created by: Beatrice Holloway
Recipe Type: Classic Baking Favorites
Skill Level: Beginner
Final Quantity: 12 cups
What You'll Need
For the Chocolate Shell
- 1 cup dark chocolate chips
- 2 teaspoons coconut oil
For the Maple Filling
- 1 cup creamy peanut butter
- 1/4 cup maple syrup
- 1/2 teaspoon vanilla extract
- 1/4 teaspoon salt
How-To Steps
In a microwave-safe bowl, combine the dark chocolate chips and coconut oil. Microwave in 30-second intervals, stirring in between, until the mixture is smooth and fully melted.
Line a muffin tin with paper liners and pour a small amount of melted chocolate into each cup, ensuring the base and sides are coated. Place in the freezer for about 10 minutes to set.
In a medium bowl, stir together the peanut butter, maple syrup, vanilla extract, and salt until well combined and smooth.
Once the chocolate has set, add a spoonful of the peanut butter and maple filling into each cup. Top with additional melted chocolate to cover the filling completely.
Return the muffin tin to the freezer for another 10-15 minutes to allow the chocolate to harden. Once set, remove the cups from the liners and enjoy your delicious homemade peanut butter cups!
Extra Tips
- For an extra crunch, try adding chopped nuts or a sprinkle of sea salt on top of the chocolate before it sets.
Nutritional Breakdown (Per Serving)
- Calories: 280 kcal
- Total Fat: 18g
- Saturated Fat: 4g
- Cholesterol: 0mg
- Sodium: 160mg
- Total Carbohydrates: 25g
- Dietary Fiber: 2g
- Sugars: 15g
- Protein: 5g