Homemade Peanut Butter Cups with Crunchy Quinoa
Highlighted under: Classic Baking Favorites
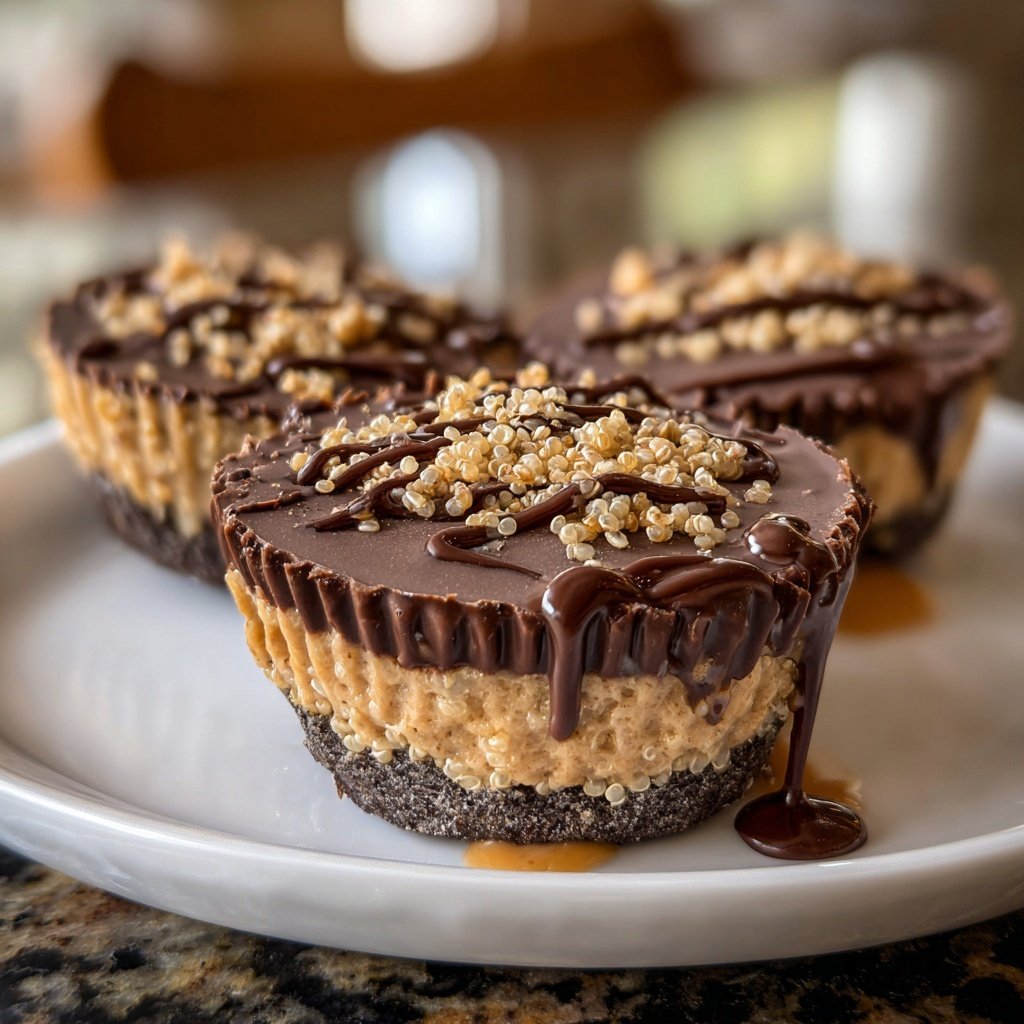
I’ve always loved the combination of chocolate and peanut butter, but when I decided to add crunchy quinoa to the mix, everything changed. The texture is just out of this world! These homemade peanut butter cups not only satisfy my sweet tooth but also provide a delightful crunch that takes them to the next level. It's surprising how simple it is to create such a treat at home, allowing me to customize the sweetness and embrace the rich flavors without any guilt. You won’t believe how easy it is to whip these up!
When I first experimented with adding quinoa to my peanut butter cups, I didn't imagine how perfect the combination would be. The quinoa provides a satisfying crunch that balances the smooth, rich chocolate and creamy peanut butter. I love how the tiny pops of toasted quinoa add a surprising element that keeps me reaching for another. I found that toasting the quinoa just a little enhances its nuttiness and flavor, elevating the overall experience.
Making these at home gave me the freedom to play with flavors and sweetness levels, so I used dark chocolate chips, which I prefer for their deep taste. With every bite, I get to relish the richness paired with the unique texture. Trust me, once you try making these, you’ll never go back to store-bought!

Why You Will Love These Peanut Butter Cups
- The perfect blend of creamy and crunchy in every bite.
- Customizable sweetness that lets you control your treat!
- An indulgent flavor without the guilt, perfect for any occasion.
Perfecting the Peanut Butter Filling
The key to a smooth and creamy peanut butter filling lies in your choice of peanut butter. Opt for natural peanut butter that has minimal additives, as it yields a richer flavor and better texture. When combining the peanut butter with powdered sugar and salt, ensure that the ingredients are mixed thoroughly. This not only allows for a balanced sweetness but also enhances the overall taste profile. If you prefer a sweeter or a saltier finish, adjust the powdered sugar or salt accordingly, tasting as you go.
Achieving the right consistency is essential so that your peanut butter filling holds its shape once layered in the chocolate. It should be thick enough to scoop into the liners without spilling, yet smooth enough to blend with the other ingredients seamlessly. If desired, consider adding a splash of vanilla extract for an extra layer of flavor; it complements the richness of the peanut butter beautifully and adds a warm note that balances the dessert.
Mastering the Chocolate Coating
When melting chocolate, patience is key. Use a microwave-safe bowl and heat the chips in 30-second increments, stirring in between to prevent overheating. The chocolate is ready when it's fully melted and smooth, with no lumps remaining. Alternatively, you can use a double boiler to melt chocolate if you prefer more control over the temperature. Just remember to keep the water simmering gently, as high heat can scorch the chocolate, leaving it lumpy and unusable.
The addition of toasted quinoa to the chocolate not only enhances the texture but adds a nutty flavor that complements the peanut butter perfectly. To toast the quinoa, cook it according to package instructions, then spread it on a baking sheet and bake at 350°F (177°C) for about 10 minutes, or until golden brown. Keep an eye on it, as it can burn quickly. Once toasted, allow it to cool before adding it to your cups for the best crunch.
Ingredients
Ingredients
For the Peanut Butter Filling
- 1 cup natural peanut butter
- 1/4 cup powdered sugar
- 1/4 teaspoon salt
For the Chocolate Coating
- 1 cup dark chocolate chips
- 1/3 cup cooked quinoa, toasted
Make sure to measure your ingredients precisely for the best results.
Instructions
Instructions
Prepare the Peanut Butter Mixture
In a medium bowl, mix the peanut butter, powdered sugar, and salt until well combined. The mixture should be smooth and slightly thick.
Melt the Chocolate
In a microwave-safe bowl, melt the dark chocolate chips in 30-second intervals, stirring in between until fully melted and smooth.
Layer the Chocolate
Line a muffin tin with cupcake liners. Pour a thin layer of melted chocolate into the bottom of each liner, spreading it evenly.
Add the Peanut Butter Filling
Spoon about a tablespoon of the peanut butter mixture into each liner, followed by a sprinkle of the toasted quinoa.
Top with More Chocolate
Cover the peanut butter layer with more melted chocolate until the liners are full. Tap the tin lightly on the counter to level the mixture.
Chill and Set
Refrigerate the cups for about 20 minutes, or until the chocolate is set. Remove from the muffin tin and enjoy!
Store any leftovers in an airtight container in the refrigerator.
Pro Tips
- For a fun twist, try adding a pinch of sea salt on top before the chocolate sets. It complements the sweetness beautifully!
Storage and Make-Ahead Tips
These homemade peanut butter cups can be stored in an airtight container in the refrigerator for up to two weeks. For long-term storage, consider freezing them. Place the cups in a single layer on a baking sheet until fully frozen, then transfer them to a freezer-safe bag. They can last up to three months in the freezer. Just allow them to come to room temperature for about 10 minutes before indulging, as they have the best texture when slightly soft.
If you're preparing these treats ahead of time, you can make the peanut butter filling and chocolate separately to save time on the day you're assembling them. The filling can be kept in the fridge for up to five days, while melted chocolate can be stored in a sealed container at room temperature for a few days as long as it doesn’t harden. Just reheat gently when you’re ready to use it.
Variations and Customizations
Feel free to experiment with different types of nut butter! Almond butter or cashew butter can be excellent substitutes for peanut butter, each providing a unique flavor profile. You might also consider adding mix-ins to the peanut butter filling, like mini chocolate chips or crushed nuts, for added texture and richness. If you prefer dark chocolate, try using semi-sweet or even milk chocolate for a sweeter take.
For a fun twist, consider adding toppings to the peanut butter cups before they set, such as a sprinkle of sea salt or a drizzle of caramel for an elevated taste. Alternatively, you could use flavored chocolate, like white chocolate or even matcha-infused chocolate, to create visually stunning and delicious variations that can impress your friends and family.
Questions About Recipes
→ Can I use milk chocolate instead of dark chocolate?
Yes, milk chocolate can be used, but keep in mind it will make the cups sweeter.
→ How can I make these vegan?
Use dairy-free chocolate chips and check that your peanut butter is vegan-friendly.
→ How long do these peanut butter cups last?
They can last up to one week in the refrigerator when stored in an airtight container.
→ Can I use almond butter instead?
Absolutely! Almond butter works well and gives a nice flavor twist.
Homemade Peanut Butter Cups with Crunchy Quinoa
Created by: Beatrice Holloway
Recipe Type: Classic Baking Favorites
Skill Level: Beginner
Final Quantity: 12 cups
What You'll Need
For the Peanut Butter Filling
- 1 cup natural peanut butter
- 1/4 cup powdered sugar
- 1/4 teaspoon salt
For the Chocolate Coating
- 1 cup dark chocolate chips
- 1/3 cup cooked quinoa, toasted
How-To Steps
In a medium bowl, mix the peanut butter, powdered sugar, and salt until well combined. The mixture should be smooth and slightly thick.
In a microwave-safe bowl, melt the dark chocolate chips in 30-second intervals, stirring in between until fully melted and smooth.
Line a muffin tin with cupcake liners. Pour a thin layer of melted chocolate into the bottom of each liner, spreading it evenly.
Spoon about a tablespoon of the peanut butter mixture into each liner, followed by a sprinkle of the toasted quinoa.
Cover the peanut butter layer with more melted chocolate until the liners are full. Tap the tin lightly on the counter to level the mixture.
Refrigerate the cups for about 20 minutes, or until the chocolate is set. Remove from the muffin tin and enjoy!
Extra Tips
- For a fun twist, try adding a pinch of sea salt on top before the chocolate sets. It complements the sweetness beautifully!
Nutritional Breakdown (Per Serving)
- Calories: 180 kcal
- Total Fat: 13g
- Saturated Fat: 3g
- Cholesterol: 0mg
- Sodium: 90mg
- Total Carbohydrates: 14g
- Dietary Fiber: 1g
- Sugars: 6g
- Protein: 4g