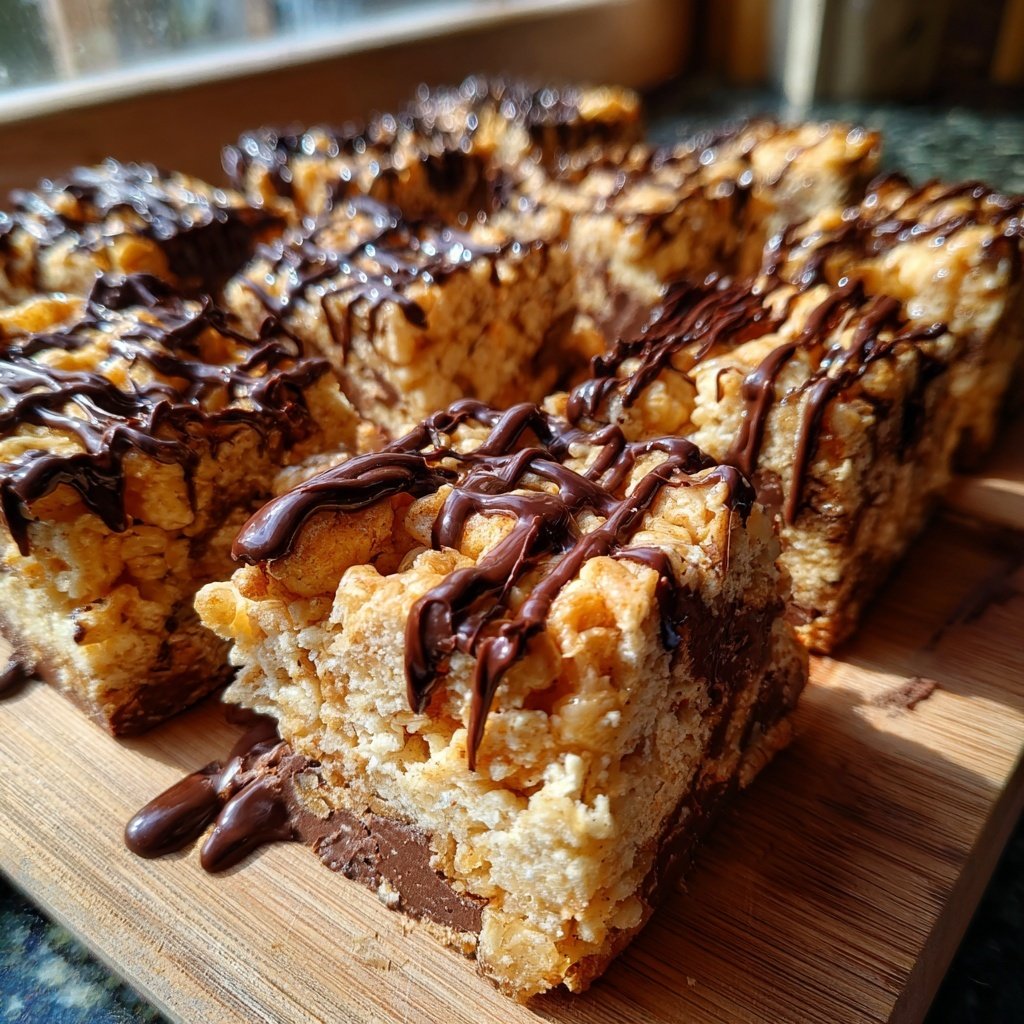
Chocolate Honeycomb Bars
Highlighted under: Classic Baking Favorites
I love making Chocolate Honeycomb Bars because they perfectly combine sweet chocolate and airy honeycomb in every bite. Preparing these treats brings back fond memories of cooking with my family, and I feel a rush of nostalgia whenever I whip up a batch. They're surprisingly simple to make yet deliver wow-worthy results, perfect for sharing with friends or indulging in a cozy night at home. The best part? You can customize the toppings to suit your taste, giving these bars an extra personal touch that makes them even more special.
When I first attempted to make Chocolate Honeycomb Bars, I had no idea how delightful the end result would be. Mixing sugar and honey to create that perfect honeycomb texture was a game-changer for me! The crunchiness delivers a satisfying contrast against the smooth chocolate layer, creating a truly indulgent experience.
One tip I learned is to let the honeycomb cool completely before cutting—it makes a world of difference in achieving those clean, crisp edges. Whether you're prepping for a party or just treating yourself, you'll find these bars irresistible!
Why You'll Love These Bars
- A delightful crunch with a smooth chocolate coating
- Fast to make, yet elegant enough for special occasions
- Customizable toppings allow for personal creativity
The Importance of Precision in Making Honeycomb
Making honeycomb requires precision; sugar's temperature is crucial for achieving that perfect crunchy texture. When cooking the sugar and golden syrup, aim for a deep amber color, which typically takes about 4-5 minutes. If you notice any bubbling or the mixture starting to crystallize, it's essential to remove it from the heat immediately to avoid a grainy texture.
After incorporating the baking soda, you'll witness an exciting froth that indicates the honeycomb is ready to set. Avoid mixing too vigorously at this stage, as incorporating too much air can impact the end result. Pour it onto parchment quickly but steadily to maintain an even thickness, which should be about half an inch for optimal crunch and mouthfeel.
Expert Tips for Chocolate Coating
For the chocolate topping, using a combination of dark chocolate and unsalted butter results in a rich yet smooth coating that beautifully contrasts the honeycomb's crunch. Be sure to chop the chocolate into uniform pieces; this ensures even melting. If using a microwave, melt in 20-second intervals at medium power, stirring in between to prevent burning and achieve a glossy finish.
If you’re looking for a sweeter chocolate flavor, consider replacing part of the dark chocolate with milk chocolate or even white chocolate. Just remember that adjusting the chocolate type may alter the richness of the bars. After pouring the chocolate over the honeycomb, let it set undisturbed at room temperature while avoiding the fridge, as rapid cooling can cause the chocolate to crack.
Ingredients
For the Honeycomb
- 200g granulated sugar
- 75g golden syrup
- 1 teaspoon baking soda
For the Chocolate Topping
- 200g dark chocolate, chopped
- 50g unsalted butter
Instructions
Steps
Make the Honeycomb
In a saucepan, combine the sugar and golden syrup over medium heat. Stir until the sugar dissolves. Increase the heat and let it boil until it reaches a deep amber color, around 4-5 minutes. Remove from heat and quickly stir in the baking soda until it froths. Pour onto a baking tray lined with parchment paper and let it cool.
Prepare the Chocolate Coating
Melt the dark chocolate and butter in a heatproof bowl over simmering water or in the microwave, stirring until smooth.
Assemble the Bars
Once the honeycomb is completely cooled, break it into pieces and spread it on the chocolate layer in a tray. Pour the melted chocolate over the top and set aside to cool again until firm.
Slice and Serve
Once set, cut into bars and enjoy! Store any leftovers in an airtight container.
Tips
Pro Tips
- Use a candy thermometer for precise results when making the honeycomb, and experiment with different chocolate types for unique flavors.
Storage and Make-Ahead Tips
Chocolate Honeycomb Bars can be made a few days in advance and stored in an airtight container at room temperature. This method helps retain their crispiness. However, if you live in a very humid area, it's best to store them in a cool, dry place to prevent the bars from becoming sticky.
Should you wish to scale up the recipe for larger gatherings, simply double the ingredients while maintaining the same cooking temperatures. Just ensure you have a sufficiently large baking tray and adjust your cooling time as needed, as thicker layers may take a bit longer to fully set.
Serving Suggestions and Variations
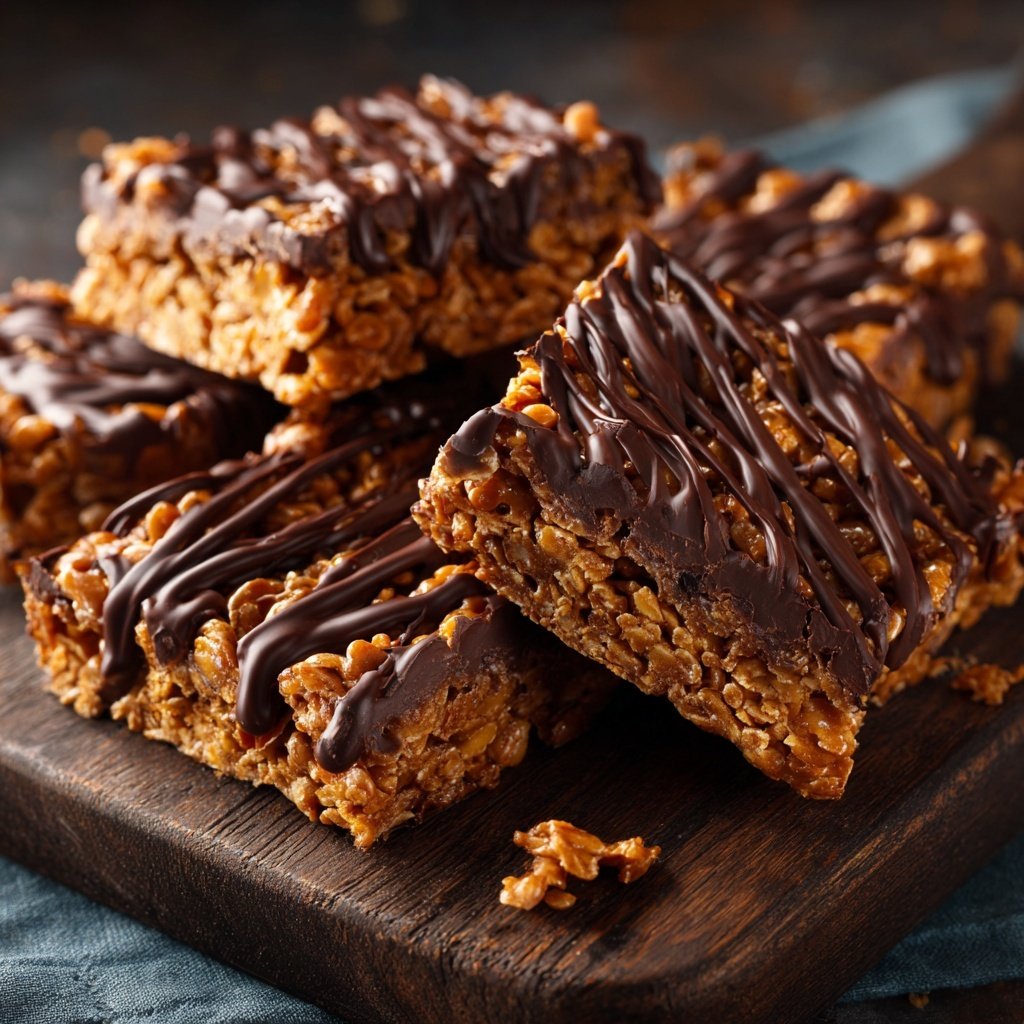
To elevate your Chocolate Honeycomb Bars, consider drizzling melted chocolate on top for a decorative touch or sprinkling with sea salt for a delightful sweet-and-salty contrast. You can also crush additional toppings like nuts, pretzels, or even freeze-dried fruits to add an exciting flavor dimension and extra textures.
If you're feeling adventurous, experiment with flavoring your honeycomb. A splash of vanilla extract or a pinch of sea salt can enhance the overall taste. Alternatively, infuse the chocolate with a hint of orange or mint for a refreshing twist that celebrates the marrying of classic flavors with your own creative flair.
Questions About Recipes
→ Can I substitute golden syrup?
Yes, you can use light corn syrup or honey, but the flavor and texture may vary slightly.
→ How can I store the bars?
Store them in an airtight container at room temperature for up to a week, or in the fridge for longer freshness.
→ Can I add nuts or dried fruits?
Absolutely! Mix in your favorite nuts or dried fruits with the honeycomb for added texture and flavor.
→ Is this recipe suitable for vegans?
The recipe can be made vegan by using plant-based butter and chocolate without milk ingredients.
Chocolate Honeycomb Bars
Created by: Beatrice Holloway
Recipe Type: Classic Baking Favorites
Skill Level: Intermediate
Final Quantity: 12 bars
What You'll Need
For the Honeycomb
- 200g granulated sugar
- 75g golden syrup
- 1 teaspoon baking soda
For the Chocolate Topping
- 200g dark chocolate, chopped
- 50g unsalted butter
How-To Steps
In a saucepan, combine the sugar and golden syrup over medium heat. Stir until the sugar dissolves. Increase the heat and let it boil until it reaches a deep amber color, around 4-5 minutes. Remove from heat and quickly stir in the baking soda until it froths. Pour onto a baking tray lined with parchment paper and let it cool.
Melt the dark chocolate and butter in a heatproof bowl over simmering water or in the microwave, stirring until smooth.
Once the honeycomb is completely cooled, break it into pieces and spread it on the chocolate layer in a tray. Pour the melted chocolate over the top and set aside to cool again until firm.
Once set, cut into bars and enjoy! Store any leftovers in an airtight container.
Extra Tips
- Use a candy thermometer for precise results when making the honeycomb, and experiment with different chocolate types for unique flavors.
Nutritional Breakdown (Per Serving)
- Calories: 380 kcal
- Total Fat: 26g
- Saturated Fat: 15g
- Cholesterol: 195mg
- Sodium: 85mg
- Total Carbohydrates: 32g
- Dietary Fiber: 3g
- Sugars: 24g
- Protein: 6g